Converting Bitmap Images into Vector Graphics
This is a walkthough guide for those that wish to convert their images into vector graphics themselves and save money by going straight to our laser cutting and engraving services. We included only the inkscape method for now (Inkscape is an amazing free to download and use open source software package). In the future, if requested we can add other methods using adobe Illustrator among others.
Using Inkscape (Open Source Software – Free To Download and Use)
To start off download Inkscape if you have not already done so. It is free to download, available for Mac, PC and Linux systems and is also available in multiple languages. The process of converting the image to vector graphics is the same regardless of your operating system. For MAC users you will need to install X11/Xquartz to be able to use Inkscape (app not automatically included in the newest versions of OS X, Mavericks at this time). For windows it is the same as any installation.

Once open you should see a similar screen as below. A simple layout common to most drawing programs.
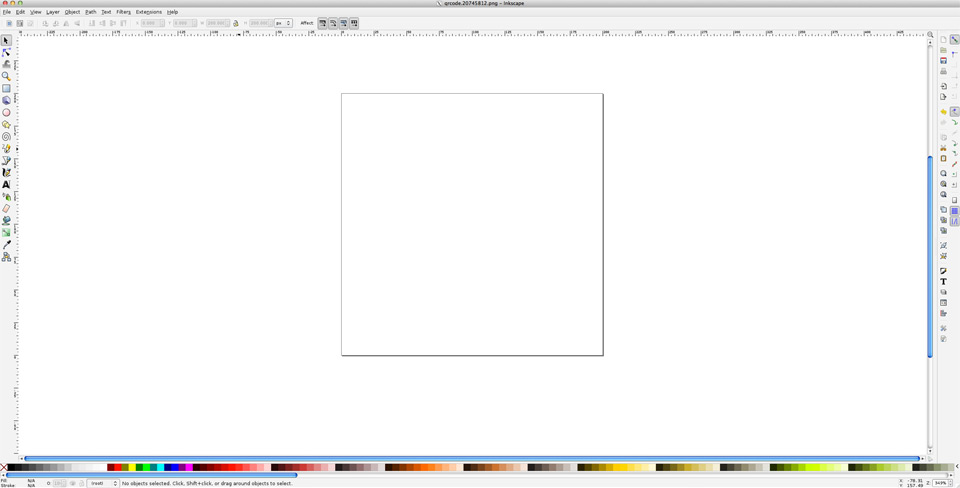
Once Inkscape is done downloading and you have installed the software go ahead and open it. You will see a screen similar to the one below.
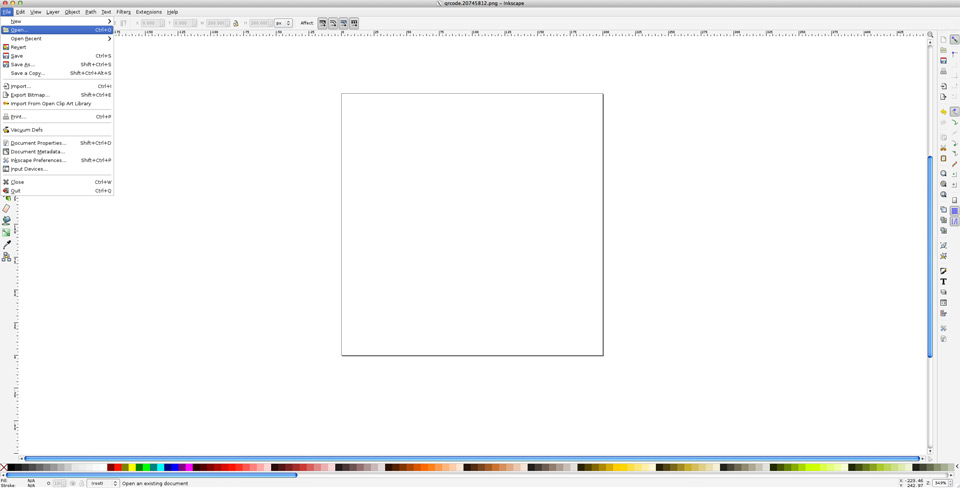
What we need to do now is open a bitmap image such as a jpeg or png file. Inkscape recognizes a great variety of file types. To open an image into Inkscape, click on “file” -> “open” (alternatively press ctrl + O on a PC or cmd + O on a Mac).
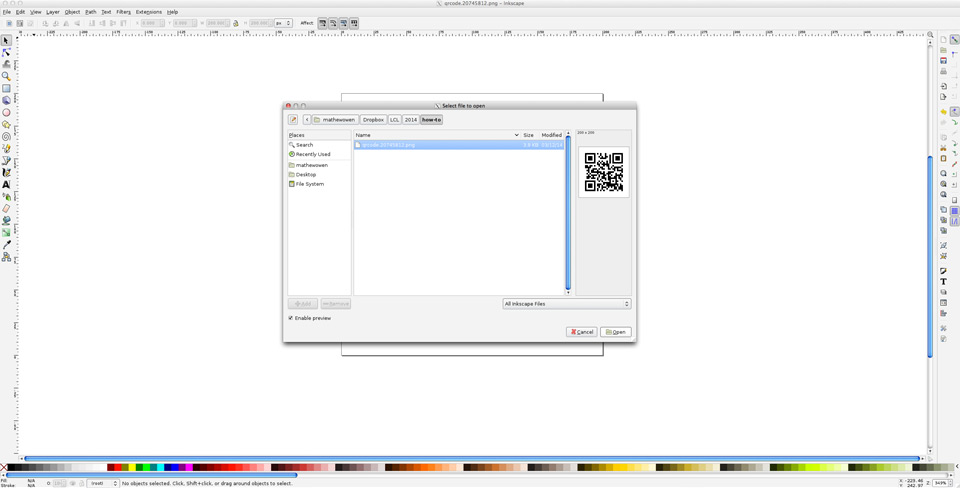
Navigate to the location of the file you wish to use.
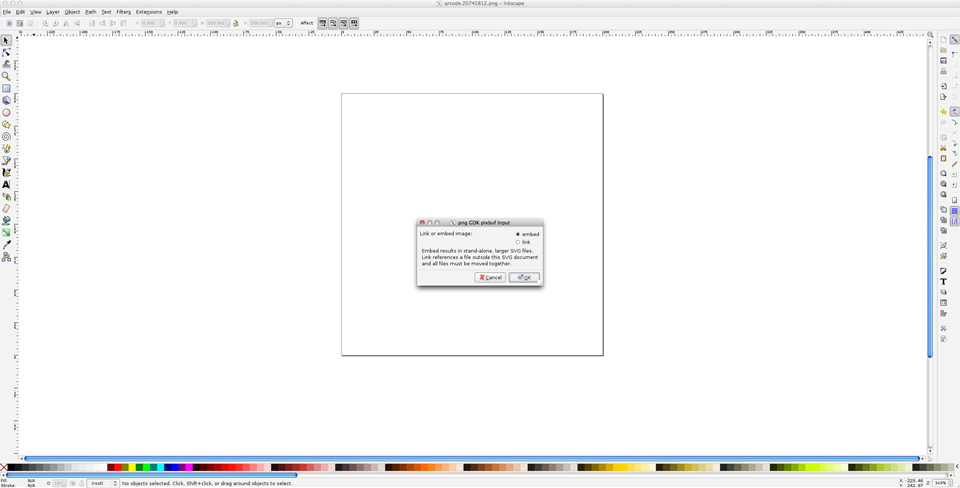
In this step we want to select “embed” and click OK to open it.
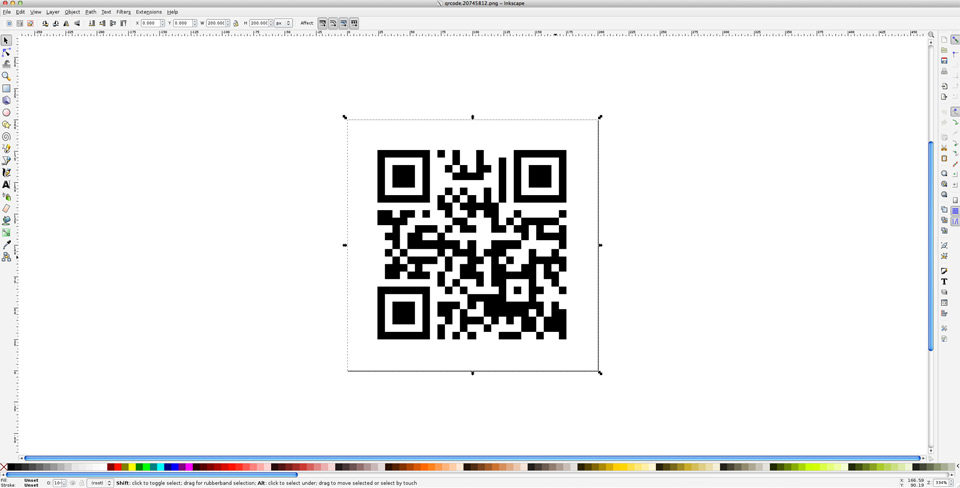
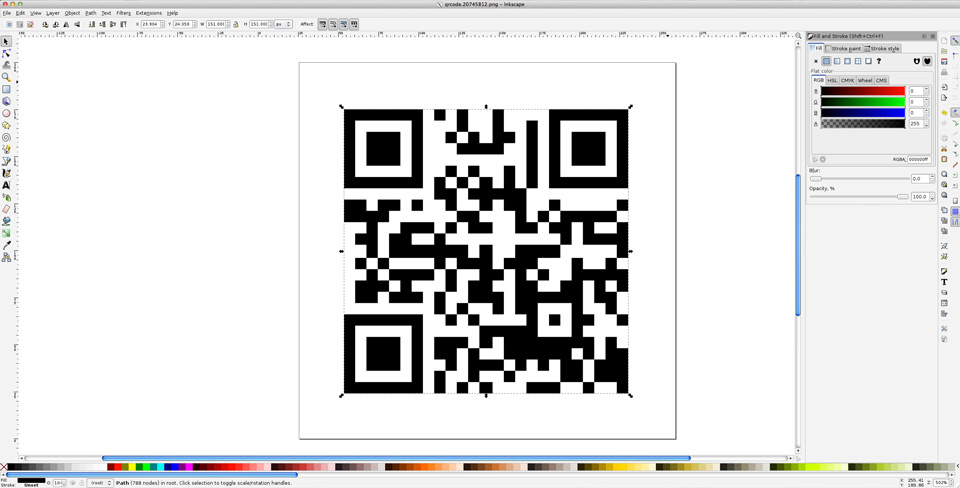
Image above shows the first step completed, we will use the imported bitmap to convert to a vector ready for cutting. The importance of a vector graphic in laser cutting is to tell the laser what line it needs to follow for the cuts. In addition, cutting and engraving has a far greater accuracy if vectors are used. With a vector we can specify sizes that can be cut and engraved with huge precision. A bitmap image can be difficult to get an accuracy of a fraction of a millimeter, which is easily achieved with vectors.
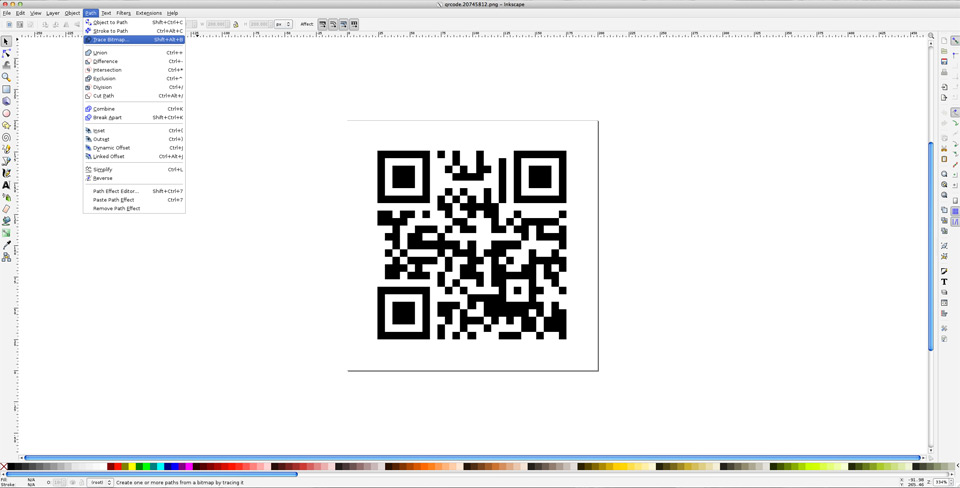
In image above shows the location of the “Trace Bitmap” command that will open a dialog box where we can customize the settings to give us the best results.

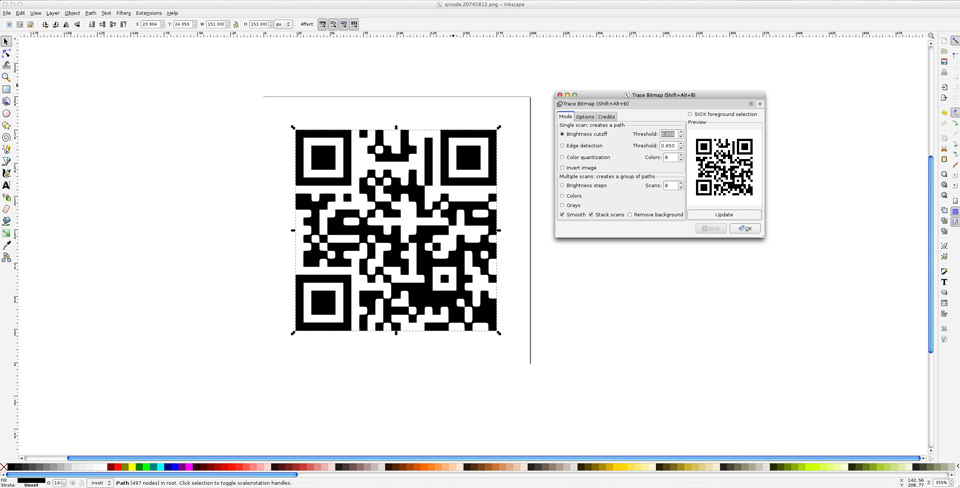
We now have opened the dialog box which has a number of ways it can trace an image. This is where you will need to spend some time perfecting as each image will be different and require different settings. We are just going for the default settings in the demonstration, so I will just click OK.
The image (shown above) has now been traced and we have vector graphics which can be used for laser cutting. However, this is where you will need to spend some time adjusting the settings. If you look closely at the image above, we can see that although the image is very similar, some of the image has been slightly altered. The image was crisp and straight when we started and now almost all edges have been rounded.
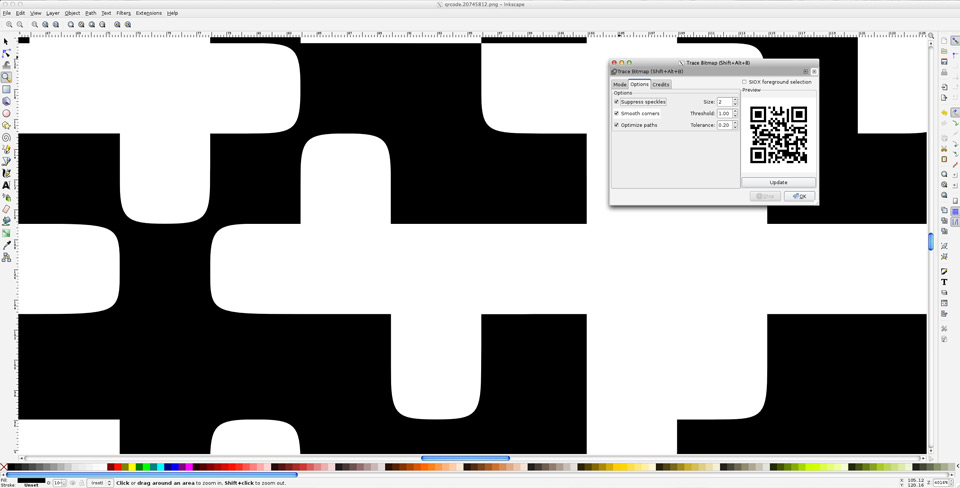
If we zoom in this becomes even more apparent. Luckily there is an easy fix, if we go to the “options” tab on the dialog box of Inkscape, we see a checked box in front of “Smooth corners” which in this case needs to be unchecked. Of course if your image that you want to trace has does not have sharp edges you most likely will want to leave “Smooth corners” checked.

If we go back and retrace the image with the smooth corners option unchecked we have the vector graphics we need to start cutting. There is only one last step (optional as it can also be defined after exporting to other software). The laser sees a solid color “fill” or “hatch” as something it needs to raster / engrave, while it sees a line or “stroke” as something it will cut.

To control the “fill” and “stroke” we have to open the options bar for it under “Object” -> “Fill and stroke”.
The option bar will open as a side panel. This is where we can remove or add a fill. Remove the solid color fill by pressing the “x” in the “fill” tab.
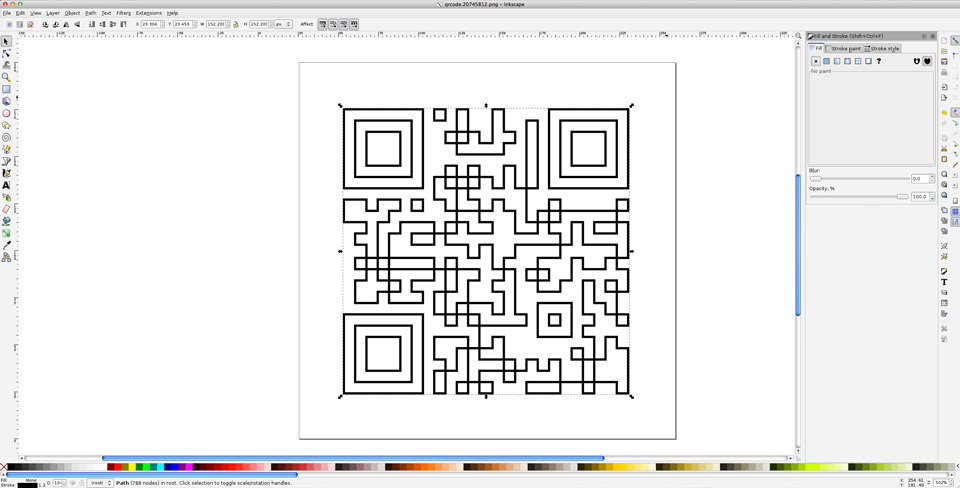
The image above shows what our vector graphic looks like with just strokes (or cutting lines). This can also be done in other software. We normally cut and engrave vector graphics from CAD software, while many others prefer software such as Corel Draw.
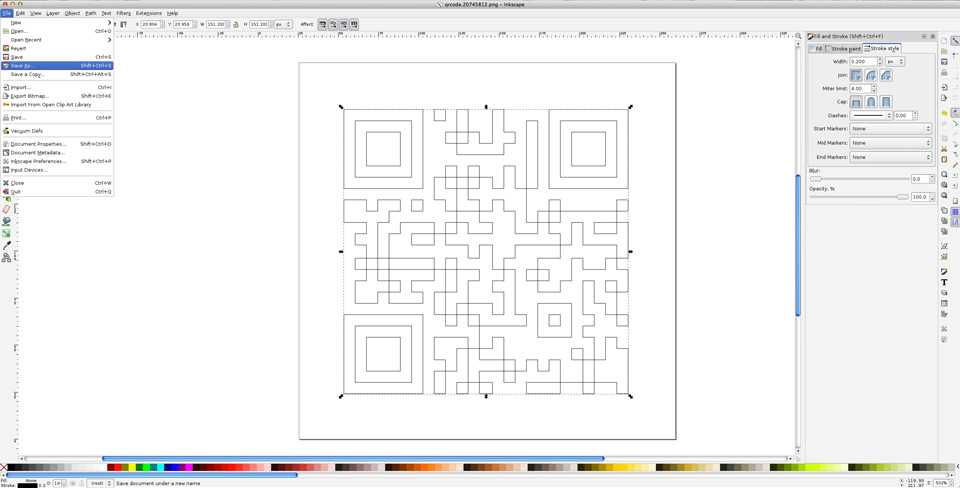
To save a file go to “File” -> “Save As”.
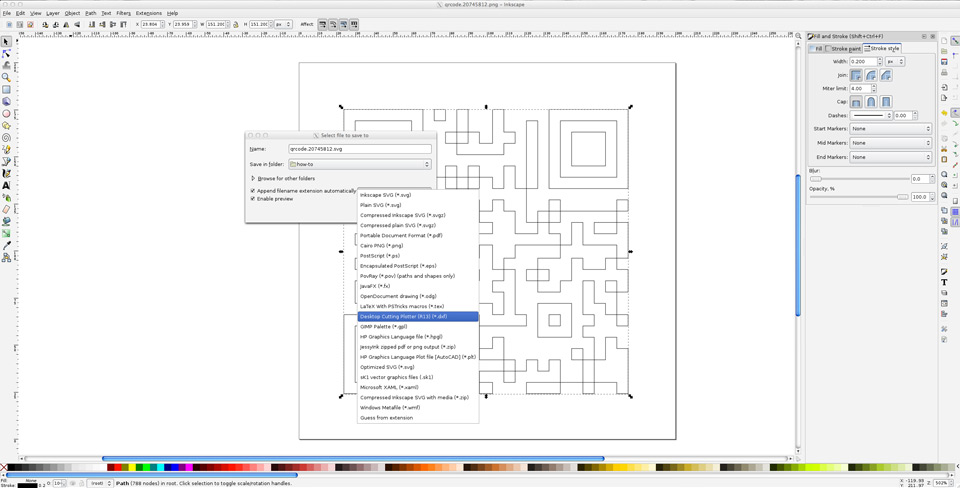
Finally, save the file in the format how you will use it. For laser cutting we save it as a .dxf as it gives us the best results and we are able to import it into most of our software. We recommend using CAD software to further process the file for correct dimensions and for setting it up for production.