Laser Cutting Without Burn Marks Using Application Tape
Here is a very useful trick for laser cutting wood. What normally happens when you laser cut wood is that the edges are slightly burned and have an ugly browning yellow mark along the top and burned marks on the bottom from the beam reflecting off of the honeycomb metal grid. What you can do to avoid this is buying application tape from a local art and crafts supply store.
Step 1: Choose the material you need to laser cut, this method will work for any wood type as well as many other materials such as acrylic (which in fact normally already has a layer of tape on it). Perhaps the only thing to think about is the tack level. We use low tack application tape as it is less expensive and comes in larger rolls and so far it has worked on every material we needed to cut. If the wood you are using does not hold well you might want to consider medium tack or high tack.

Step 2: Cut off a piece of application tape and apply it to the surface of the wood avoiding any bubbles as much as possible. Repeat this for both top and bottom of the material.

Step 3: Using a squeegee to get rid of any bubbles and securing the tape firmly against the wood. If bubbles are left in the tape it will no effect on getting rid of burn marks, the bubbles can actually create small fires which will make the final results worse.

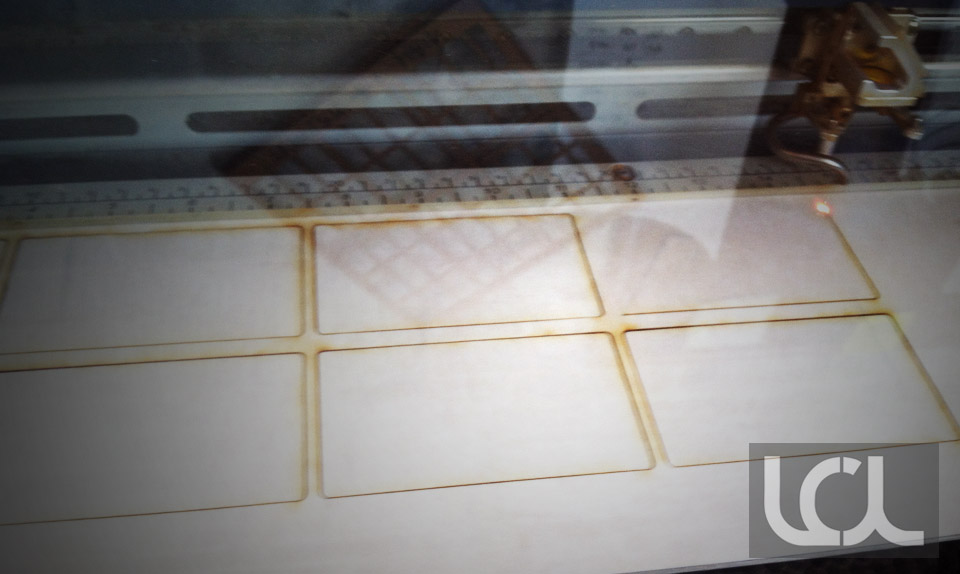
Step 4: In the image below you can see that the outlines of the shapes have burn marks and residue. Using application tape, the residue will only be present on the tape instead of on the wood. This will help to greatly reduce processing time of the wood after cutting as you can avoid sanding or brushing to get rid of the burn marks.

Step 5: After laser cutting you can easily remove the tape. We prefer low tack for this as well as it comes off with ease. The tape does not leave any stringy residue behind so once removed it is done or ready to engrave, no need for further processing.

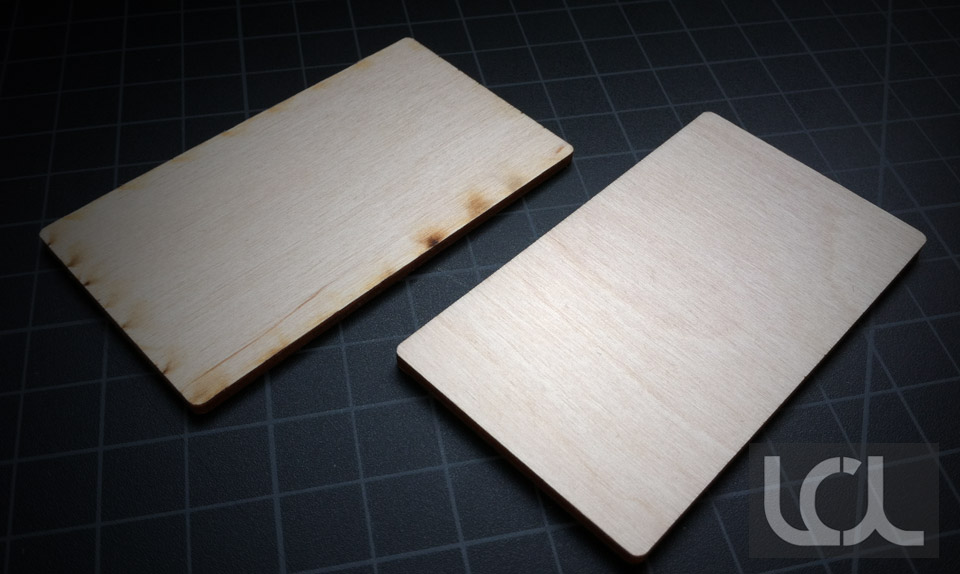
And finally a side by side comparison of the laser cut wood with the use of application tape and without, showing a clear winner. Both sides come out clean and look great, absolutely no evidence of burning on either the top or bottom surface.

You can buy the tape directly from us, we will ship you the exact tape we use. It comes in rolls of of 300′ and in either 12″ or 24″ widths (which are most common for laser cutters). Other sizes are available upon request.
If this tutorial was helpful to you please like and share our page. Thank you!
